
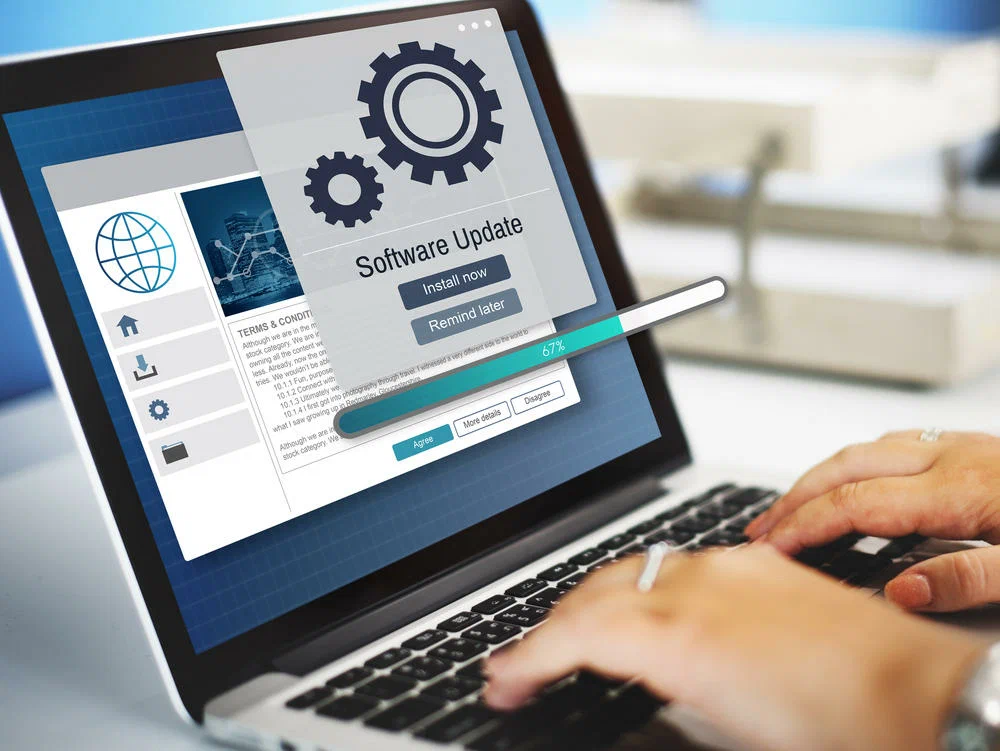
Software Installation Guide: A Step-by-Step Process for Beginners
Installing software on your computer or device can seem like a daunting task, especially if you’re not familiar with the process. However, it’s one of the most fundamental skills you need to become proficient in using your computer. Whether you’re setting up a new application, installing an operating system, or simply adding a new tool, understanding the installation process is key to making sure everything runs smoothly.
This comprehensive software installation guide will walk you through the general steps involved in installing software on various platforms. By the end of this article, you’ll be equipped to install most software applications with ease.
What Is Software Installation?
Software installation is the process of copying the necessary files, settings, and configurations to your device so that a particular software application can be executed and used. Depending on the software, the installation process may include setting up certain libraries, dependencies, system settings, or even creating user accounts.
Types of Software Installation:
- Desktop Software: Programs that are installed on your computer (e.g., Microsoft Office, Adobe Photoshop).
- Web-Based Software: Software that runs on your browser and doesn’t require installation on your computer (e.g., Google Docs, Trello).
- Mobile Apps: Software for smartphones or tablets, typically installed via app stores (e.g., Android’s Google Play, Apple’s App Store).
This guide will focus on installing software on desktops and laptops (Windows, macOS, and Linux), though the principles can be adapted to other platforms as well.
Step-by-Step Guide for Installing Software
1. Check System Requirements
Before you start the installation, it’s crucial to ensure that your system meets the minimum requirements needed to run the software. These requirements typically include:
- Operating System Version: Some software only works on specific versions of Windows, macOS, or Linux.
- Hardware Specifications: RAM, processor speed, storage space, etc.
- Additional Software: Some programs may need other software installed (like Java, .NET Framework, or specific libraries).
You can typically find the system requirements on the software’s official website, often listed on the download page or in the user manual.

2. Download the Software
The next step is downloading the software. Be sure to download the software only from trusted sources, such as the developer’s official website or an authorized distributor.
For Desktop Software (Windows/macOS/Linux):
- Windows: Visit the software provider’s website and click on the Download button. Windows executables typically come in
.exeor.msiformats. - macOS: On a Mac, software is usually downloaded as a
.dmgfile (disk image) or.pkgfile (installer package). - Linux: Linux installations may involve downloading
.deb,.rpm, or using a package manager (like apt or yum).
Ensure you download the correct version for your operating system (32-bit vs. 64-bit).
3. Run the Installer
Once the file is downloaded, locate it on your computer (usually in the Downloads folder). Double-click the installer file to begin the installation process.
For Windows:
- Double-click the
.exeor.msifile to launch the installer. - User Account Control (UAC) may prompt you to allow the program to make changes to your device. Click Yes to continue.
- Follow the on-screen instructions to proceed with the installation. You may be asked to agree to a License Agreement, select installation preferences, or choose an installation location.
For macOS:
- Double-click the
.dmgfile to mount the disk image. - If the software is a
.pkginstaller, double-click it to start the installation. - A window will often appear with the application icon. Drag the application to the Applications folder to install.
- You might need to grant permissions for the software to install (click Allow if prompted).
For Linux:
- For Debian-based systems (e.g., Ubuntu), you can use the
.debpackage by double-clicking it, which will launch the installation process through the Software Center or with thedpkgcommand in the terminal. - For Red Hat-based systems (e.g., Fedora, CentOS), you can use the
.rpmpackage by double-clicking or runningsudo rpm -i <package_name.rpm>in the terminal.
Alternatively, you can install software via the terminal using package managers like apt for Ubuntu or yum for CentOS.
4. Customize the Installation (Optional)
During the installation, you may be presented with options to customize the installation. Here are some common options:
- Choose the Installation Folder: If you want to install the software to a specific location, select the folder path. By default, the installer will usually pick a default folder (e.g.,
C:\Program Fileson Windows or/Applicationson macOS). - Select Additional Features: Some software allows you to select additional components or features to install, such as plugins, add-ons, or languages.
- Create Desktop Shortcuts: You may be given the option to add a shortcut to your desktop or taskbar for easy access.
- Update Software Automatically: Many installers offer to enable automatic updates, which can be useful for keeping the software up to date.
Take your time to review these options, especially if you want to manage where the software is installed or avoid installing unnecessary components.
5. Complete the Installation
After you have made any necessary customizations, click the Install or Finish button to proceed. The installer will copy the necessary files to your system, set up configuration files, and create shortcuts (if selected).
In some cases, you may need to restart your computer for the software to complete installation or apply certain settings.
6. Verify the Installation
Once installation is complete, launch the software to ensure it works as expected. Here’s how you can verify:
- Windows: Search for the software from the Start menu or look for the desktop shortcut you created.
- macOS: Open the Applications folder and double-click the software icon.
- Linux: Use the application menu to search for the program, or launch it from the terminal if required.
If the software opens without any issues, the installation was successful.
7. Activate or Register (If Necessary)
Some software applications require you to activate or register your copy after installation. This is typically the case for paid software or those that come with a license key. During the first launch or in a pop-up window, you may be asked to enter your license key, serial number, or account information.
Follow the on-screen instructions to complete the activation. If you’re prompted for a license key and don’t have one, you may need to purchase the software or sign up for a free trial.
8. Check for Updates
It’s always a good idea to check for the latest updates after installation. Many modern software applications will prompt you to install updates automatically. You can also manually check for updates within the software itself, usually under Help > Check for Updates.
9. Uninstalling or Reinstalling Software (If Needed)
If for any reason the software is not working correctly after installation, or you need to uninstall it, the process is simple:
- Windows: Go to Control Panel > Programs and Features to uninstall software.
- macOS: Drag the software icon to the Trash or use a third-party uninstaller.
- Linux: Use the package manager or terminal commands (
sudo apt remove <software>).
Troubleshooting Installation Problems
If you encounter issues during installation, here are a few common solutions:
- System Compatibility: Double-check that the software is compatible with your operating system version.
- Permissions: Ensure you have the necessary permissions to install the software. On macOS and Linux, you may need administrator access.
- Disk Space: Make sure your device has enough storage space for the installation.
- Internet Connection: For web-based installers or cloud services, ensure you have a stable internet connection during installation.
Conclusion
Installing software is a straightforward but important process that requires attention to detail. By following this step-by-step guide, you’ll be able to download, install, and configure your software without hassle. Always make sure your system meets the software’s requirements and take the time to read through any options during installation to customize the process for your needs. With a little practice, software installation will become second nature, allowing you to install and start using any application with confidence.